

Renovating a kitchen can be expensive, but building your cabinets can save thousands while giving you complete control over design and materials. Though it may seem daunting, with the right tools and techniques, you can achieve a polished, high-end finish without hiring a professional.
The key to success lies in careful planning, precise execution, and attention to detail. From choosing the right materials to assembling cabinets with sturdy joinery, every step matters. Whether you’re upgrading old cabinets or starting from scratch, knowing the right tips and tricks will help you avoid costly mistakes.
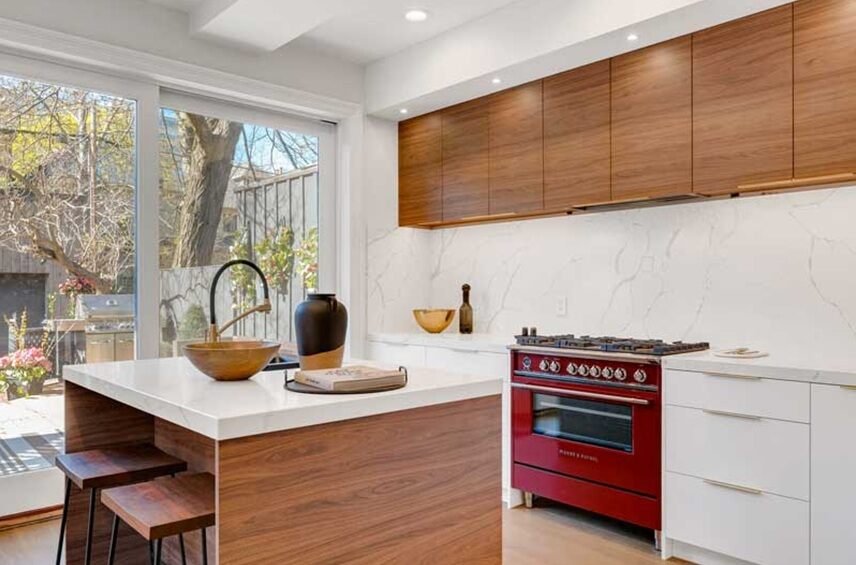
This guide covers everything from accurate measurements to painting techniques, ensuring that your do it yourself kitchen cabinets look professionally crafted. Ready to build the kitchen of your dreams? Let’s get started!
Kitchen cabinets are one of the most expensive parts of a kitchen remodel. Hiring a contractor or buying pre-assembled cabinets can cost thousands of pounds, making it a significant investment. However, opting for DIY cabinets can save 40-60% of the cost while giving you full control over design, materials, and customization.
The biggest advantage of building your own cabinets is the reduced cost. High-quality custom cabinets can cost upwards of £5,000 to £10,000, but by sourcing materials yourself, you can build them for a fraction of that price.
DIY cabinets allow you to create storage solutions tailored to your needs. You can choose specific materials, adjust shelf heights, and incorporate custom features like pull-out drawers, spice racks, or hidden compartments.
When purchasing ready-made cabinets, you may compromise on material quality. Many store-bought options use particle board, which is less durable than plywood or hardwood. By building your own, you can ensure long-lasting strength and durability.
If you enjoy hands-on projects, making kitchen cabinets can be highly satisfying. The sense of accomplishment from crafting something functional and beautiful for your home is unmatched.
With the right planning, DIY cabinets can look just as professional as store-bought ones—at a much lower cost!

Before you start, take time to measure and plan carefully. Skipping this step can result in misaligned cabinets, wasted materials, and costly mistakes.
The material you select will determine the longevity and look of your cabinets. Some popular choices include:
Quality hardware can make or break your cabinets. Invest in:
Think beyond appearance and focus on usability. Popular features include:
Once your materials are ready, it’s time to start the build!
Use a table saw or circular saw with a straight-edge guide to achieve clean cuts. Mark your measurements clearly before cutting, and always cut slightly larger—you can trim down if needed.
Pro Tip: If you’re using plywood, consider using a fine-tooth blade to minimize splintering.
Pocket holes create strong, hidden joints without visible screws, making your cabinets look seamless. A pocket hole jig is an excellent investment for this step.
Alternatively, dowels and wood glue can be used for a more traditional joinery approach.
Sanding is crucial for professional results. Use 120- to 220-grit sandpaper to smooth out surfaces before assembly. Pay extra attention to edges to avoid rough spots that could affect paint or stain adhesion.
Follow these steps to build a sturdy base:

The difference between amateur and professional-looking cabinets often comes down to the finishing touches.
Your choice depends on the style you want:
Pro Tip: Always apply a primer before painting to prevent streaks and uneven coverage.
Even experienced DIYers can run into challenges when building kitchen cabinets. Avoiding these common mistakes will save you time, money, and frustration.
One of the biggest mistakes is miscalculating dimensions. Even a slight error can result in misaligned cabinets, uneven gaps, or drawers that don’t fit properly. Always measure twice, cut once, and double-check wall angles for irregularities.
Some DIYers opt for cheap particle board to cut costs, but this can lead to weak, flimsy cabinets that won’t last. Instead, invest in high-quality plywood or MDF for durability and a professional look.
Using the wrong joinery can weaken your cabinets. Avoid relying solely on nails or glue—use pocket holes, dowels, or dado joints for strong, lasting construction.
Skipping sanding, priming, or drying time between paint coats leads to a rough or uneven finish. Take the time to sand properly and apply primer before painting or staining for a flawless look.
Crooked cabinet doors and misaligned hardware can ruin the overall aesthetic. Use a level and templates to ensure precision when attaching hinges, knobs, and pulls.
By avoiding these mistakes, your DIY cabinets will look professional, durable, and polished!
While making your cabinets is cheaper than buying pre-made ones, costs can still increase. Here’s a rough estimate of the budget breakdown:
| Expense | Estimated Cost (£) |
| Plywood (4×8 ft) | £40 – £80 per sheet |
| MDF/Hardwood | £50 – £100 per sheet |
| Paint/Stain | £20 – £50 |
| Hinges & Slides | £5 – £15 per set |
| Knobs/Pulls | £2 – £10 each |
| Tools (if needed) | £100 – £300 (one-time purchase) |
Total Estimated Cost: £300 – £1,000 (varies based on materials and kitchen size)
Building your kitchen cabinets is a rewarding and cost-effective project. With careful planning, precise execution, and the right finishing touches, you can create a stunning kitchen that looks professionally crafted.
By following these expert tips, you’ll save money and be satisfied by transforming your kitchen with your own hands. Take your time, use quality materials, and enjoy the process of building something truly unique for your home!
Now you’re ready to tackle your DIY kitchen cabinet project with confidence. Happy building!
kamariya Weston is a marketing professional and freelance writer based in London. She has a Bachelor's degree in Marketing from the University of Westminster and has worked in the marketing industry for over seven years. kamariya westons writing has been published in various online publications, covering topics such as social media marketing, content marketing, and digital advertising. In her free time, kamariya weston enjoys traveling, cooking, and practicing photography.